
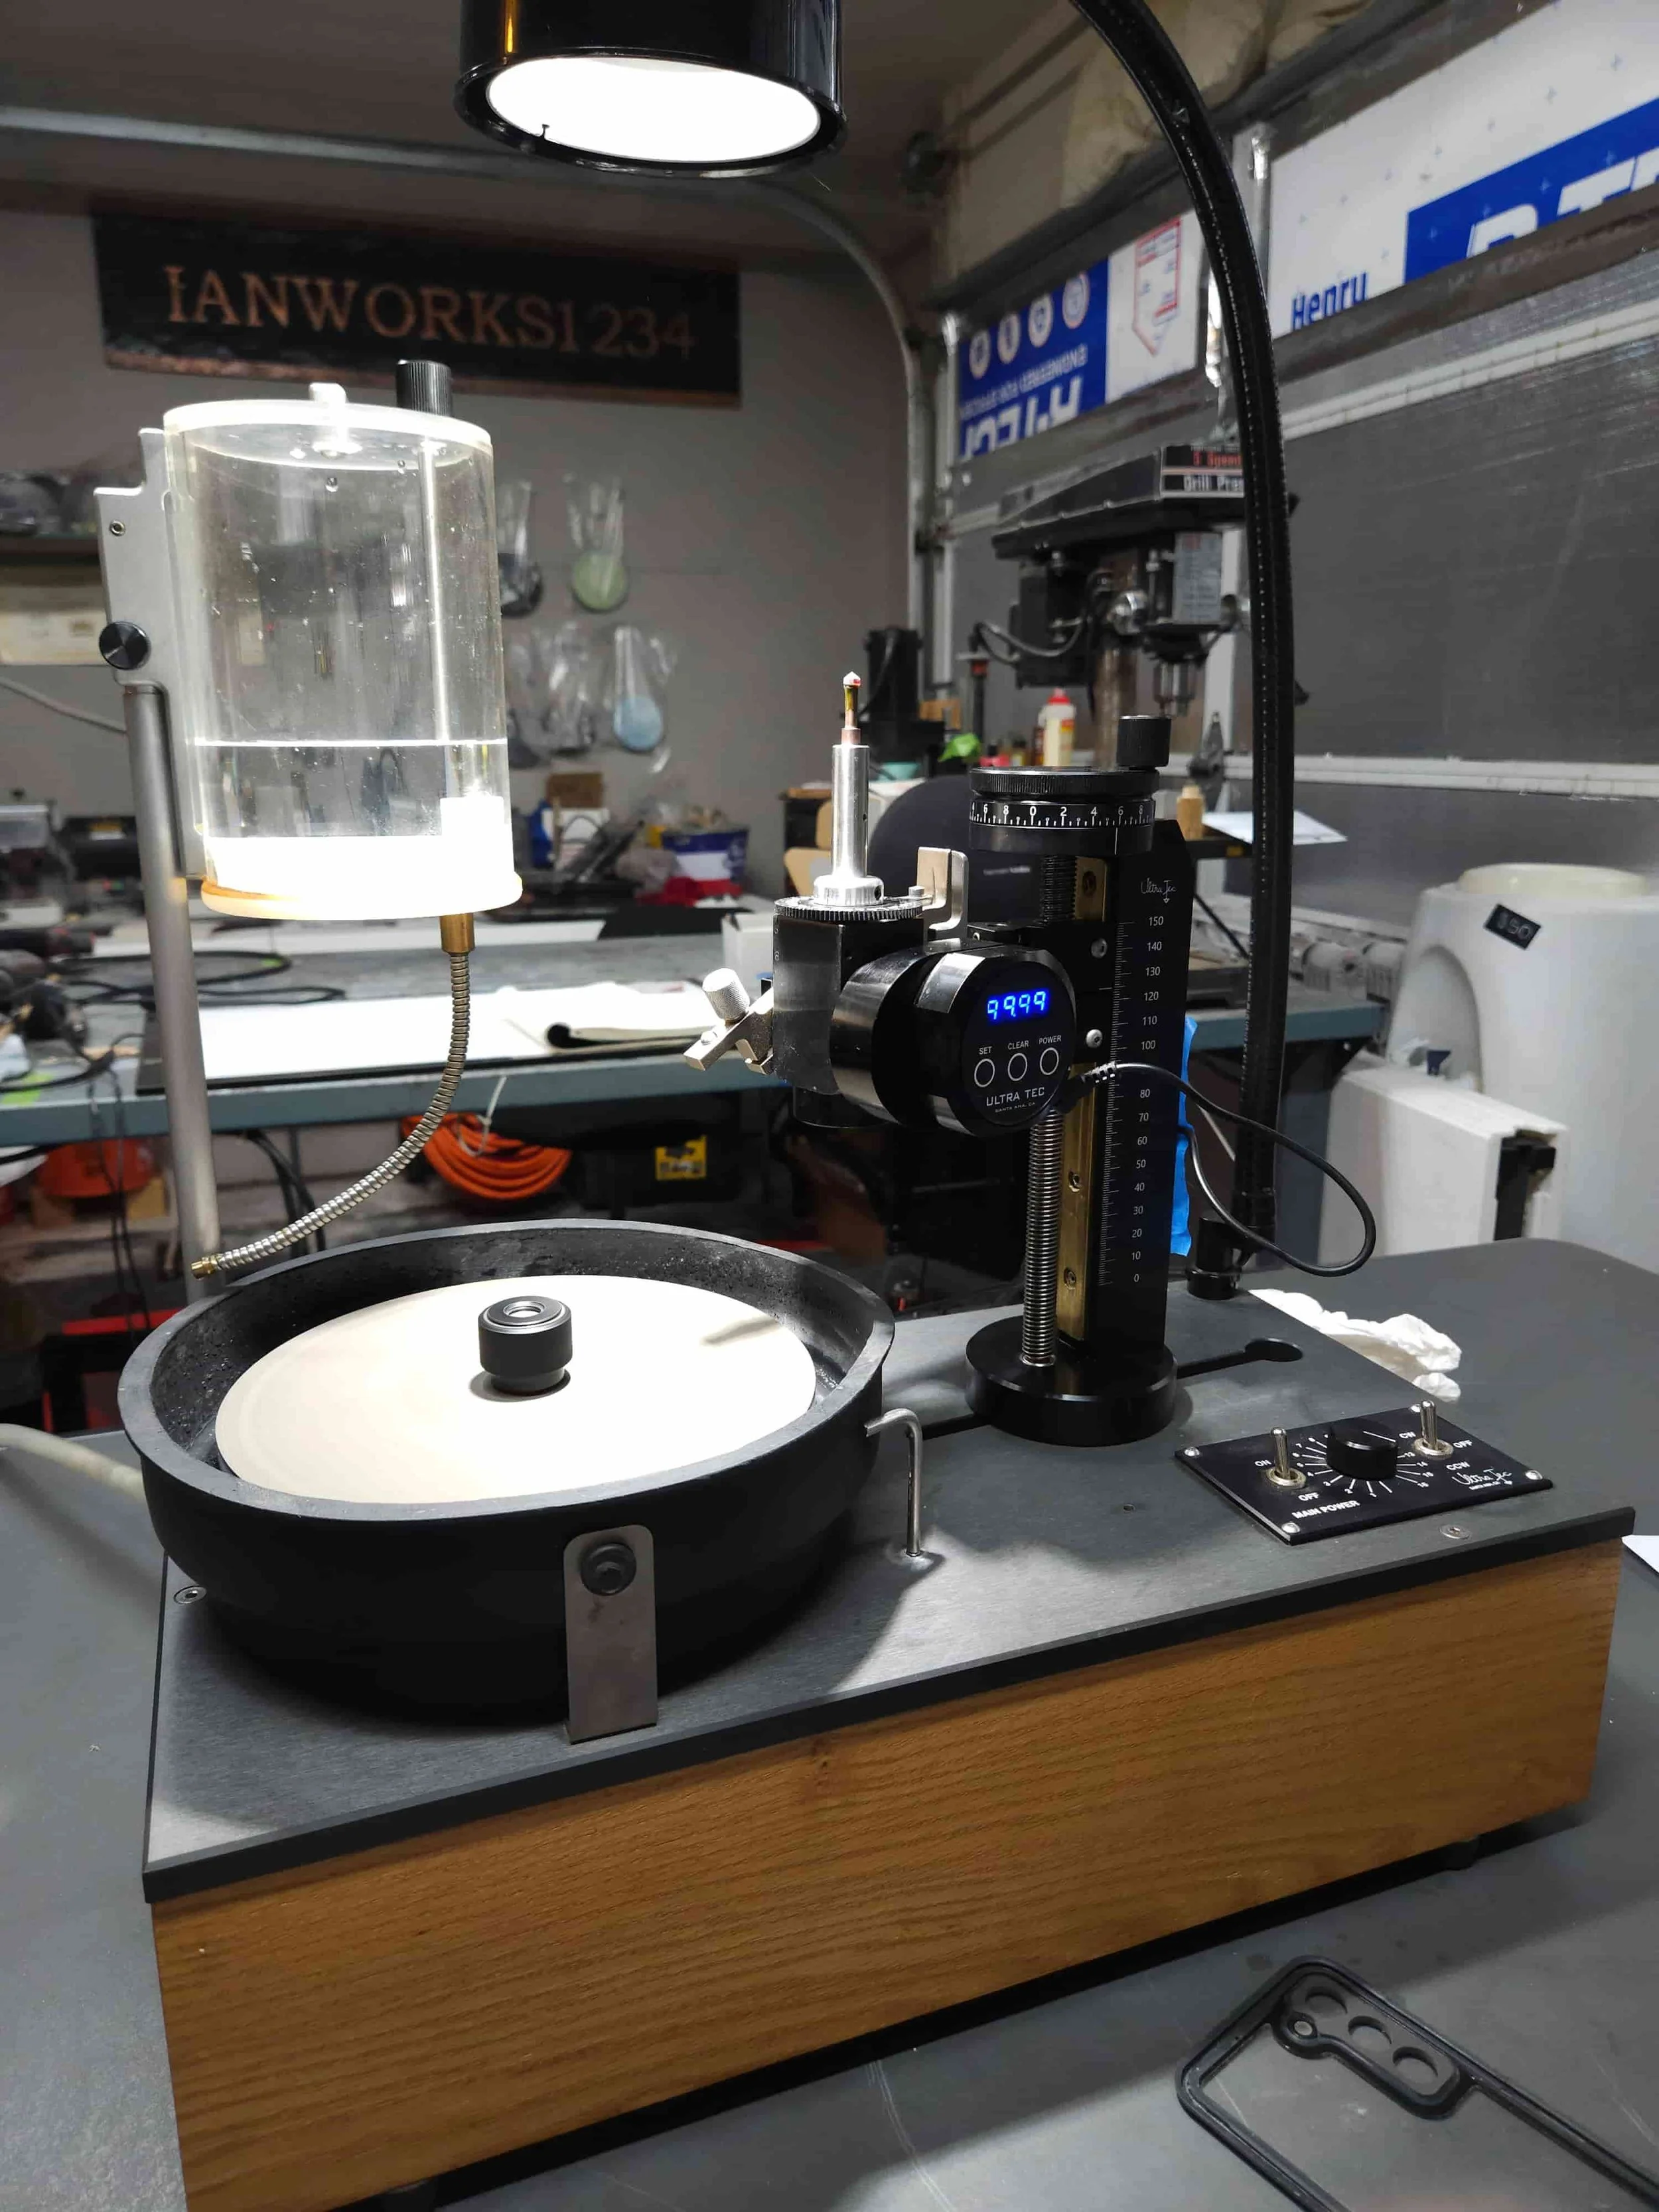
A New to Me Machine and a Garnet
Every gem cutter knows the anticipation of waiting for a client's green light. Instead of sitting on my hands, I decided to break in my "new-to-me" Ultra Tec V5 faceting machine with a piece of bright red garnet from my personal stock. From digital blueprints to a fiery final polish, here is what I learned from my first test run—and a stark reminder of why you can never truly outsmart an internal crack.
Testing the Gears: My First Spin on a New V5 Faceting Machine
Every gem cutter knows the anticipation of waiting for a client's green light. I recently had a job sent my way to inspect and cut some garnets. The client's rough is currently sitting safely on my bench while I wait for them to reply to my initial findings—but sitting on my hands isn’t really my style.
Coincidentally, I just brought a "new-to-me" Ultra Tec V5 faceting machine into the shop. With a desk full of rough and a brand-new machine practically begging to be calibrated, I decided to pull a piece of bright red garnet from my own personal stock for a test run before my upcoming show.
Here is how the practice run went, what I learned, and why you can never truly ignore a crack!
The Blueprint: 12-Sided SRB
Before bringing any lap to the machine, I jumped into Gem Cut Studio to map out a plan. I decided to design a custom 12-sided Standard Round Brilliant (SRB) with a nice, low crown.
Designing digitally first gives me a perfect roadmap for the meet-points and lets me visualize exactly how the light will perform inside the specific dimensions of the rough. Satisfied with the virtual render, I doped up the piece of stock garnet and got to work.
The Cut Sequence
To bring the design to life, I ran through a straightforward, disciplined grit progression:
250 Grit: For the heavy lifting, rough shaping, and establishing the initial geometry.
500 Grit: To smooth out the coarse scratches and prep the facets for a flawless polish.
60k Grit: The magic step. This is where the garnet’s signature bright, fiery flash truly woke up.
A Lesson Re-Learned: The Danger of Internal Cracks
During my initial inspection of my stock piece, I noticed a minor inclusion and a tiny crack. Thinking I could outsmart the physics of the stone, I strategically oriented the rough so the flaw was pushed off to the side right by the girdle line.
The Golden Rule of Faceting: If you leave a crack in a stone, the machine will find it.
Sure enough, while I was cutting the crown, the stress of the lap hit that internal flaw, and a microscopic chip developed right on the girdle. It was a stark, textbook reminder of why cutting out cracks entirely is so vital.
Because this was a practice piece meant to test out the V5's alignment and repeatability, I decided to push through and finish the stone as-is rather than transferring and re-cutting.
The Final Results
Despite the tiny hitch on the girdle, the stone turned out absolutely beautiful. The V5 handled brilliantly, holding angles perfectly and making the meet-points a joy to cut. The low-crown design gives it a unique, wide face that catches light effortlessly, showing off a bright, fiery internal flash.
The client's job might still be on hold, but my new machine is officially dialed in, dialed up, and ready for action.
Have you ever tried to cut around a crack only to have it bite back? Let me know your favorite faceting recovery stories in the comments below!