
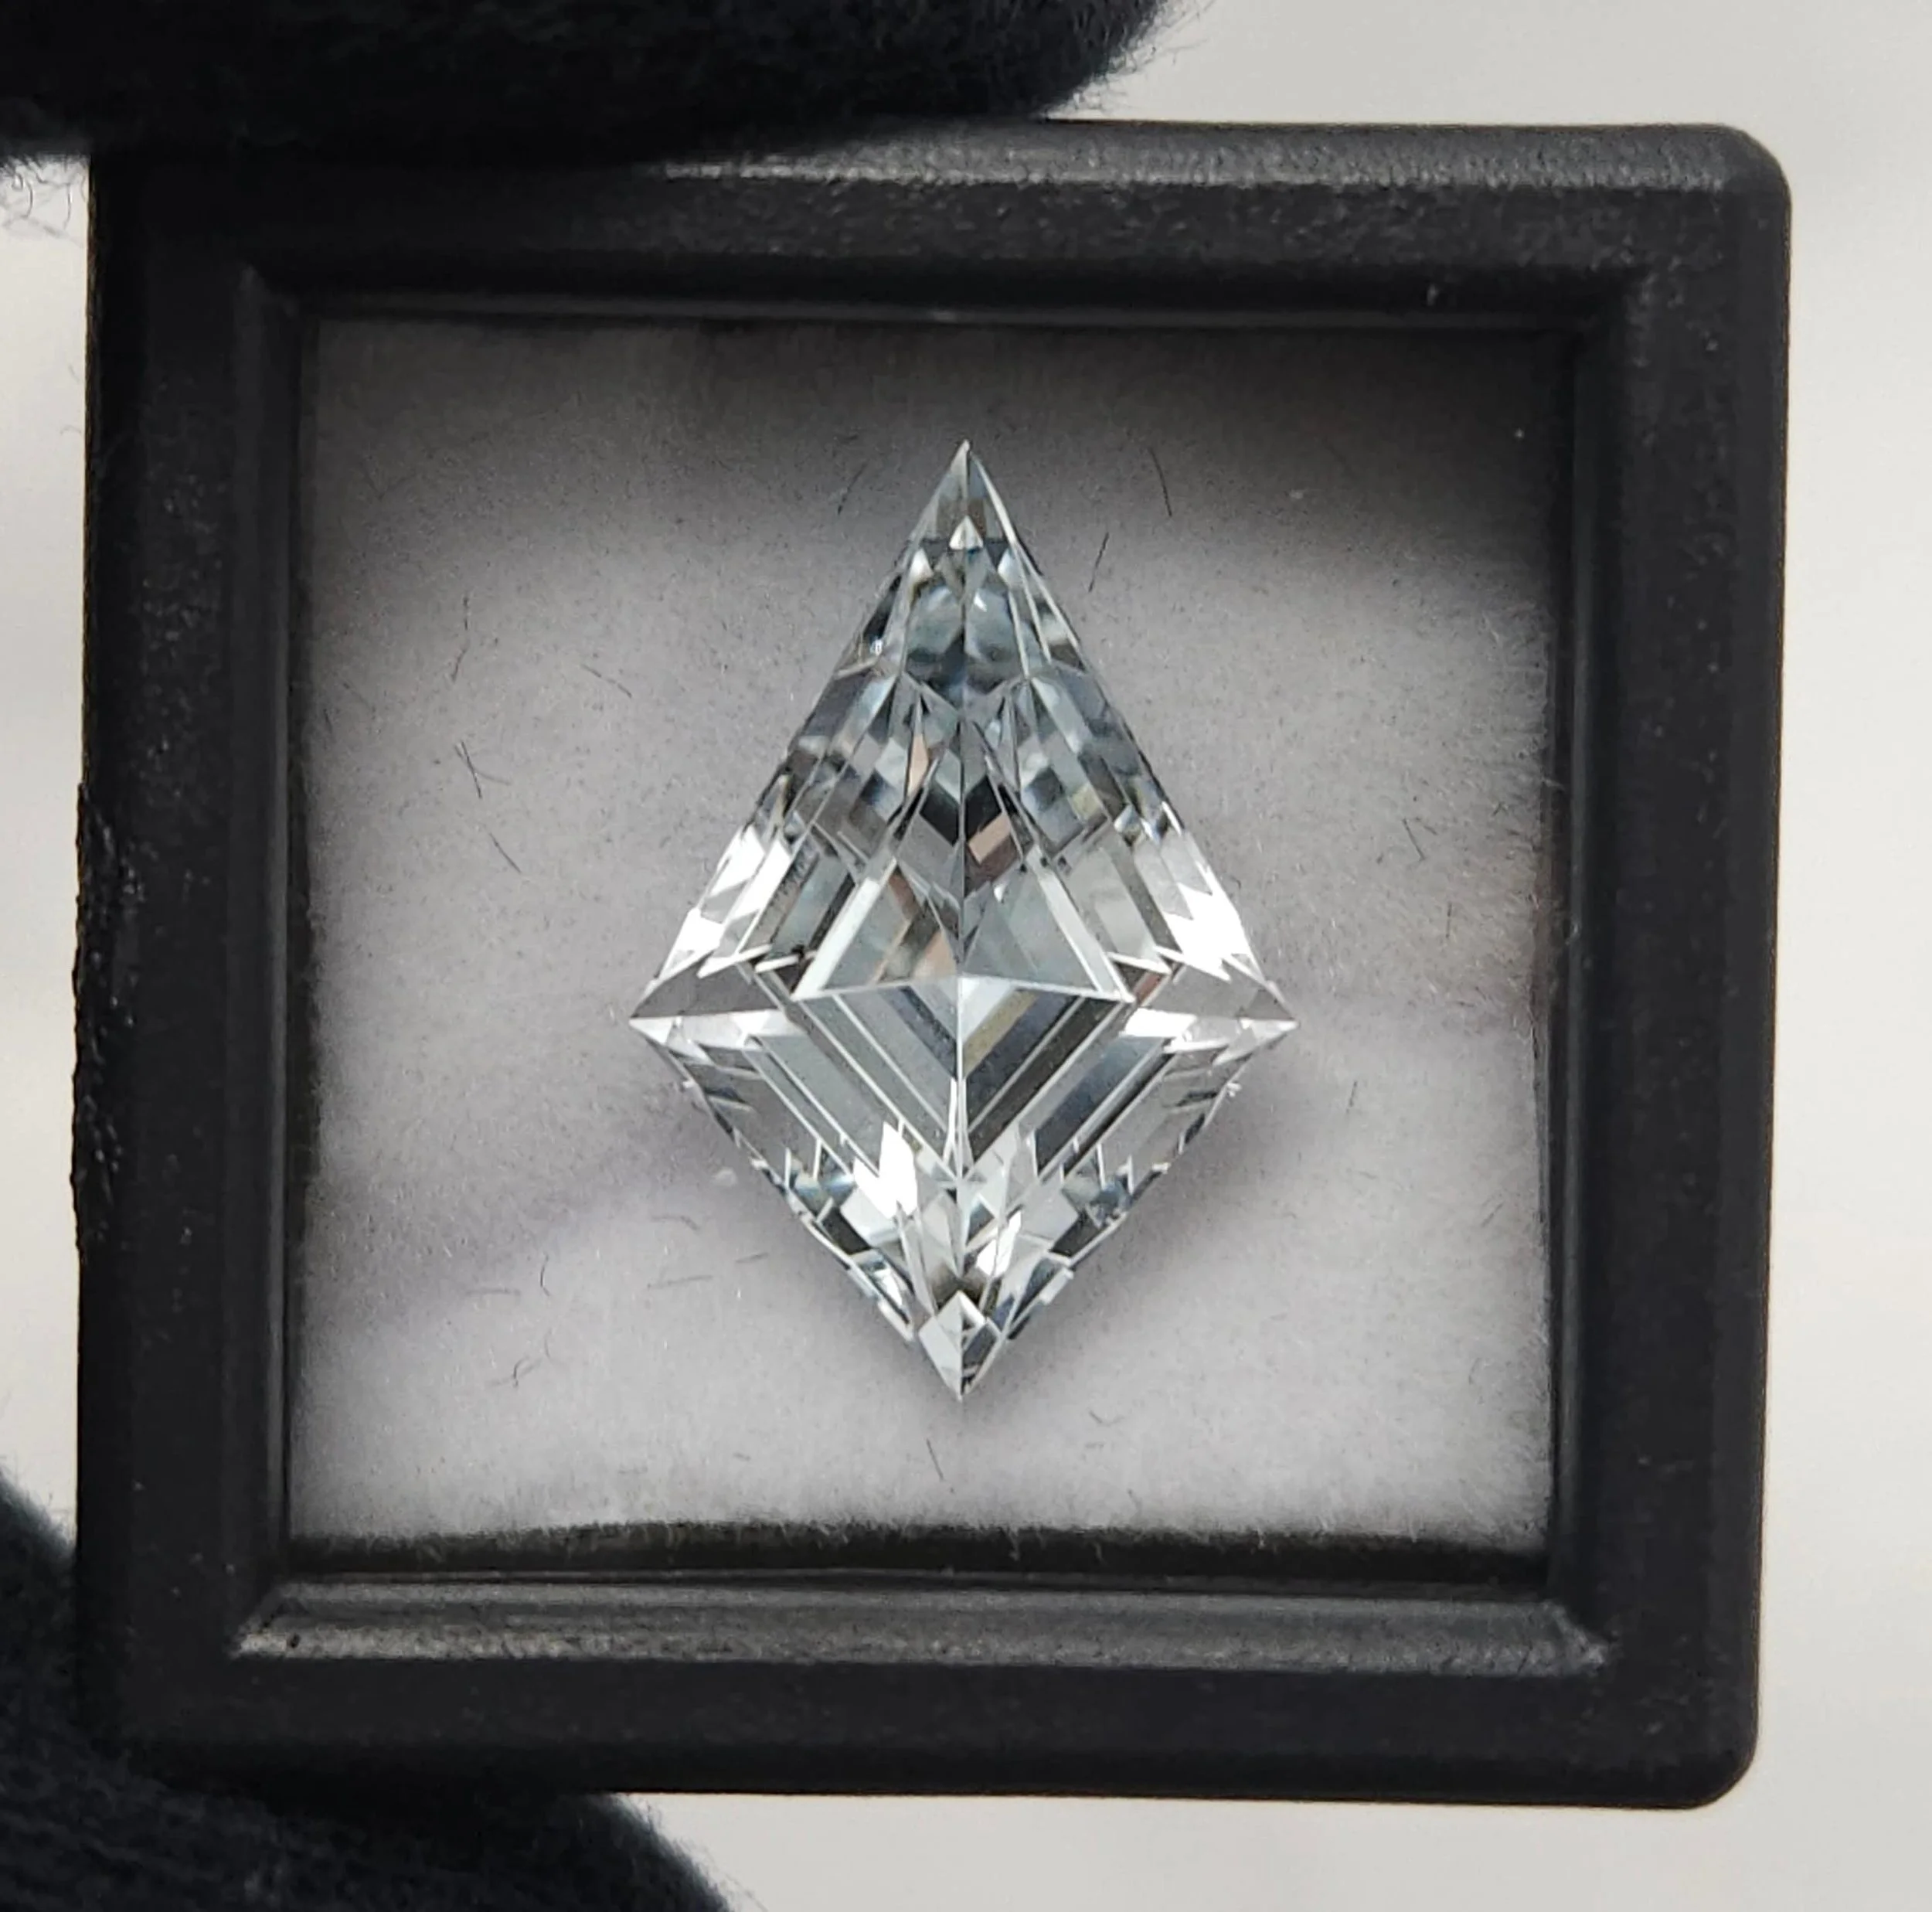
Natural Topaz Of Doom! Or is it?
In gem cutting, shortcuts always come back to haunt you. When a hidden inclusion and stubborn cleavage planes threatened to ruin a beautiful 6-carat Tucson find, a quick pivot turned a lapidary disaster into a custom, frosted-edge masterpiece. Here’s how I worked with the stone to turn a major problem into a stunning design opportunity.
Turning Challenges into Brilliants: Cutting a Custom 6-Carat Light Blue Topaz
Every gemstone tells a story, but some require a little more negotiation than others. If you’re a gem cutter, you know the exact feeling: that moment when a rough stone challenges your design, forcing you to pivot from your original blueprint.
That is exactly what happened with this stunning piece of natural light blue topaz. Here is the journey of how a tricky piece of rough from the Tucson tents became a unique, custom-cut masterpiece.
The Find and the Blueprint
It all started at the 2025 Tucson Gem and Mineral Show. If you’ve ever been, you know how overwhelming the rows of rough material can be. I managed to score a beautiful piece of natural, pale blue topaz. While I can't quite recall its exact geographic origin, the clarity and soft color screamed potential.
Back at the studio, I sat down with Gem Cut Studio to map out something unique. I settled on a striking, geometric kite-inspired design with sharp, dramatic keels to maximize the stone's brilliance and show off that crisp, icy blue hue.
Hurdle #1: Navigating the Inclusion
The trouble—and the fun—began during the initial blocking and cutting phases. As I started shaping the stone, a hidden inclusion reared its head.
Leaving it in wasn't an option if I wanted a clean stone, so I had to grind it out. The catch? Removing that flaw ate into my yield and left me with an incredibly tight margin for error. Suddenly, every single facet needed to be absolutely precise; one over-cut meant ruining the symmetry of the entire design.
Hurdle #2: The Battle with Topaz Cleavage
With the inclusion gone, I thought I was in the clear. But topaz is notorious for a specific physical property: perfect basal cleavage. This means the atomic structure of the crystal has weak planes where it wants to split cleanly.
When I went straight to initial polishing, those razor-sharp keels began to chip badly.
The Lesson: Shortcuts in lapidary always come back to haunt you. I realized I had skipped my crucial pre-polish step.
To fix it, I stepped back a few paces:
I took the stone back to a zinc lap with an 8k pre-polish compound.
After a careful pre-polish, I brought it back to the final 60k polishing lap.
This solved the macro-chipping, but under magnification, stubborn micro-chipping was still visible along those ultra-sharp edges. The cleavage planes were just too weak to sustain such a sharp, brittle meeting point.
Turning a Problem into a Feature
Instead of fighting the physics of the stone, I decided to work with it. To eliminate the micro-chipping and stabilize the edges, I opted to break the sharp lines by adding very fine, frosted facets directly onto the vulnerable edges.
To ensure the new additions didn't look like an accidental fix, I leaned into the aesthetic and added four extra facets to the design to tie it all together.
The frosted borders beautifully contrasted against the mirror-polished, step-cut facets, creating a framing effect that I hadn't originally planned for.
The Final Reveal
The resulting gem weighs in at a beautiful 6 carats. What started as an exercise in damage control turned out better than my original digital design. The frosted accents give the stone a modern, architectural look that makes the icy blue color absolutely pop.
In gem cutting, mistakes and material flaws happen. But sometimes, those limitations force us to think outside the box, turning an unexpected problem into a stunning, one-of-a-kind opportunity.
What’s the trickiest material you’ve ever had on your master lap? Let me know in the comments below!
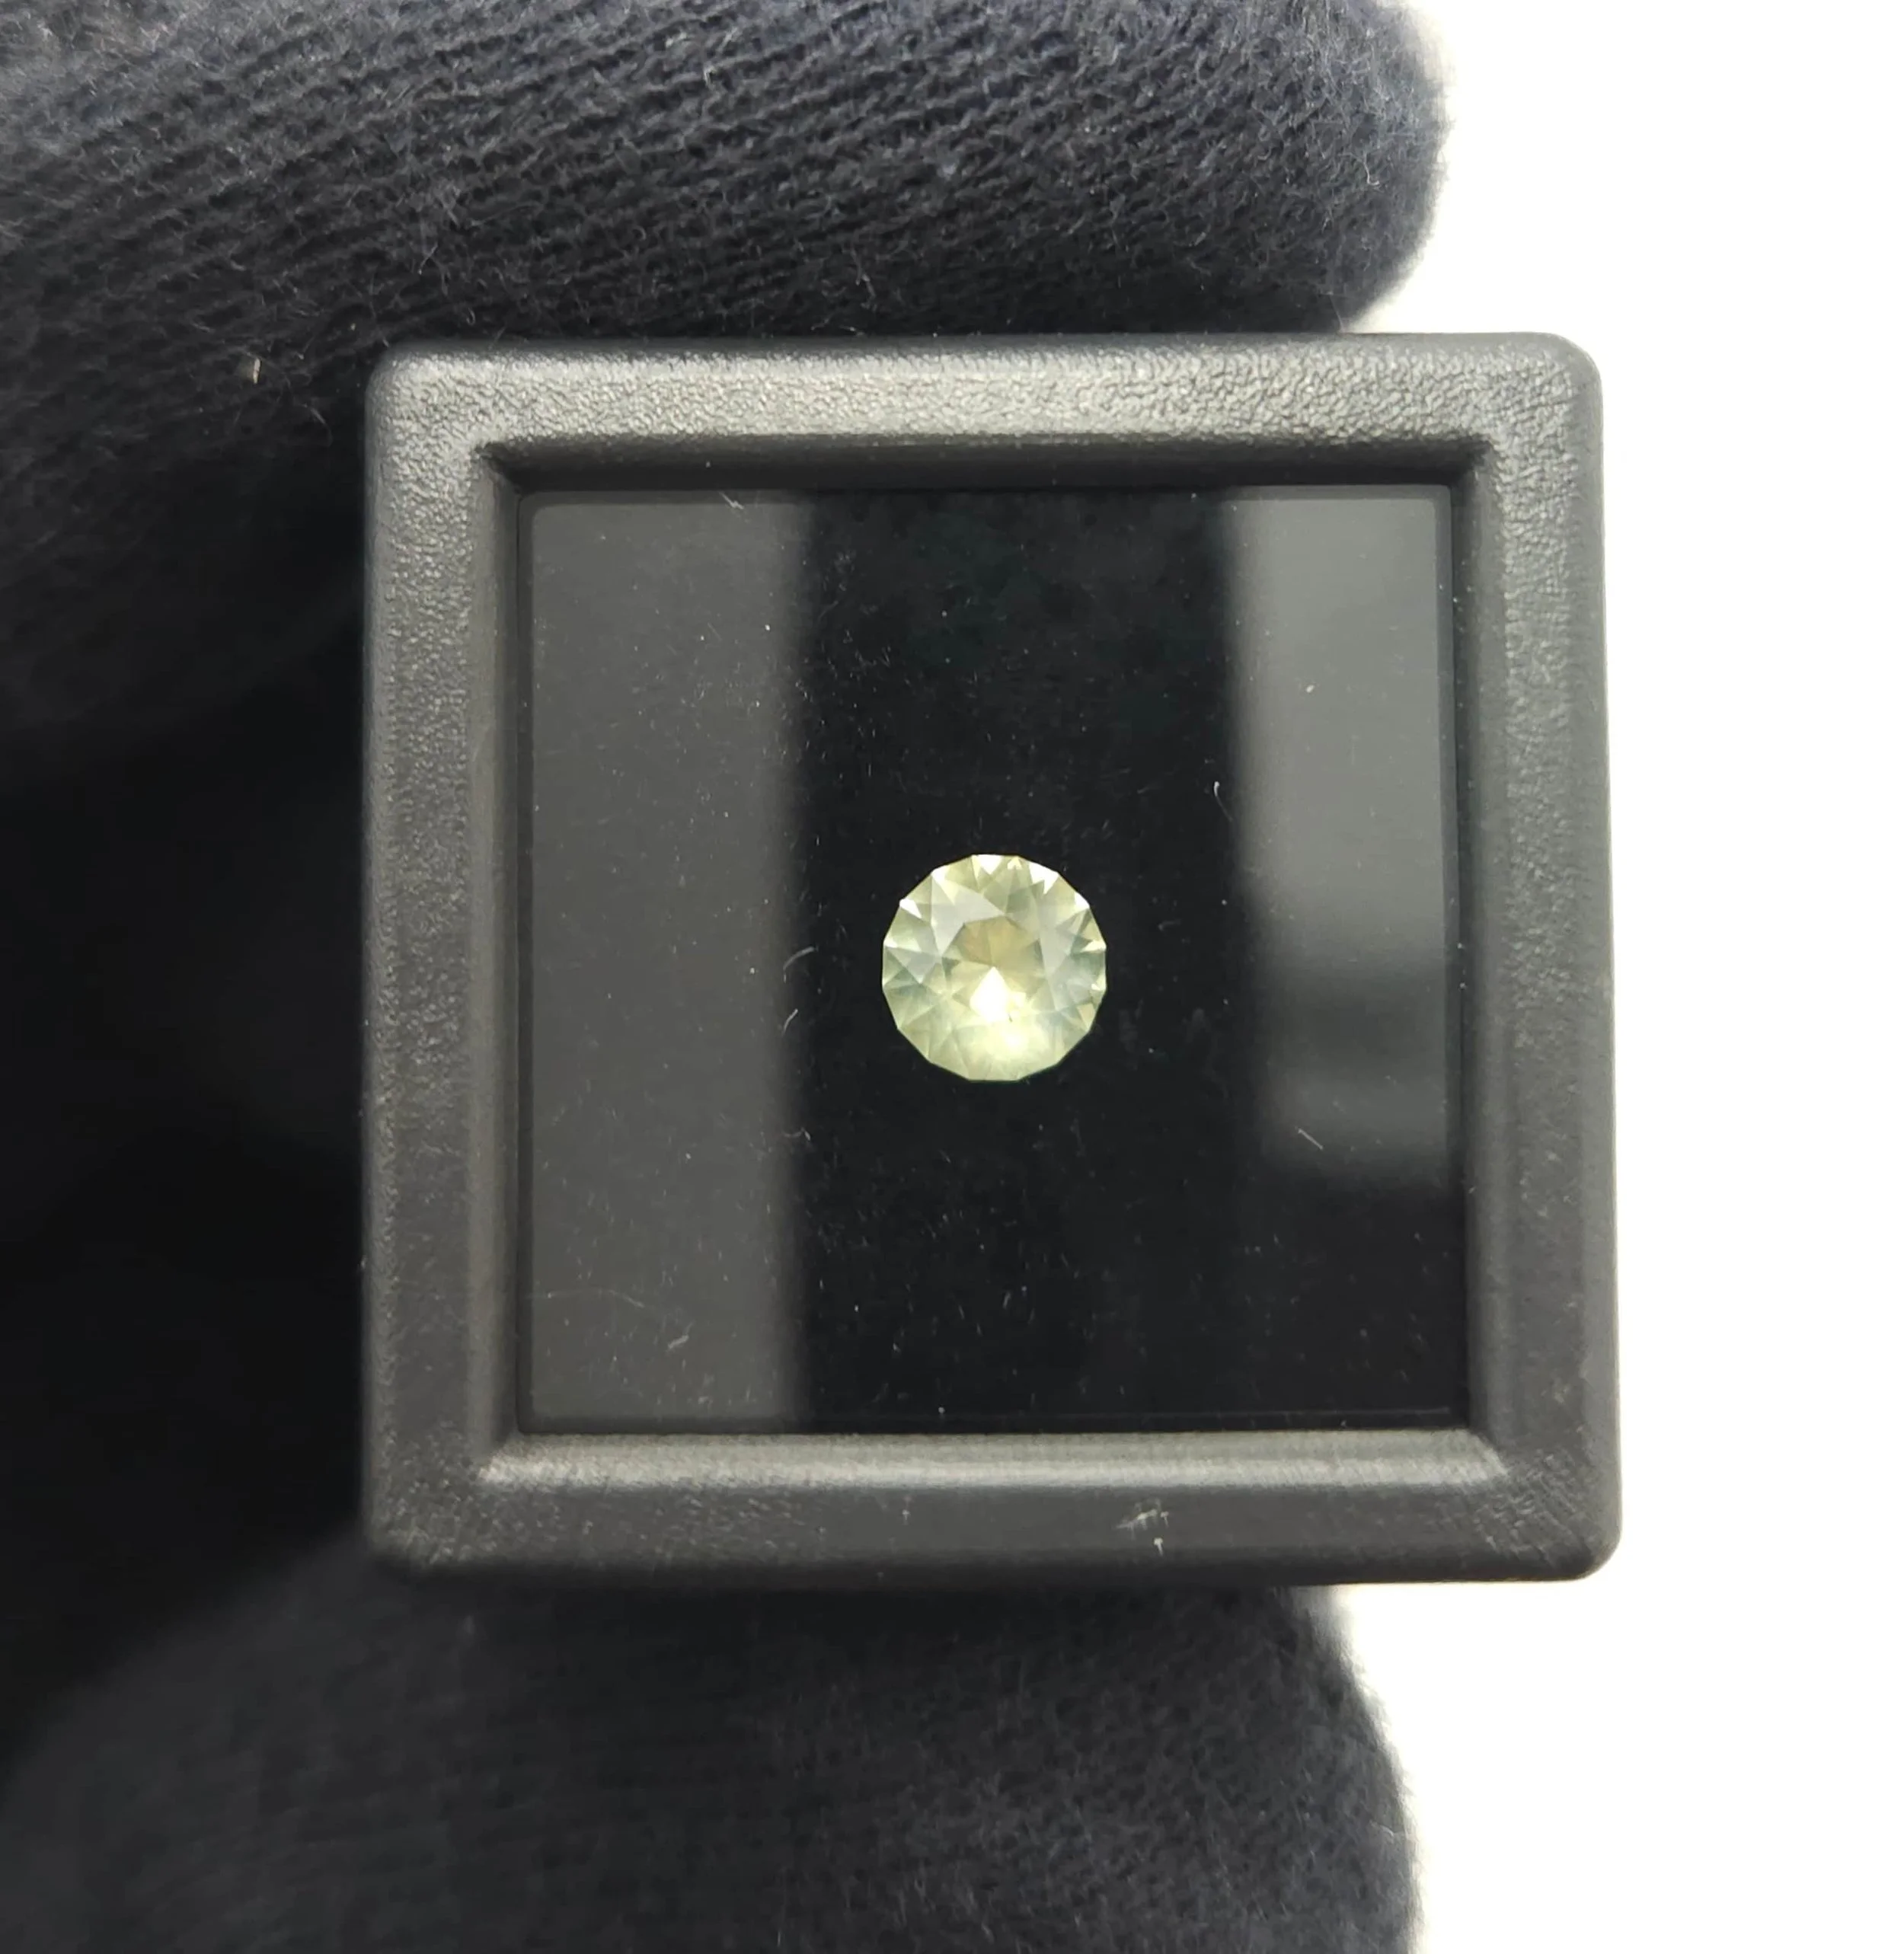
Finding Glory in the Unloved: Faceting an Included Montana Sapphire
A lot of gem cutters look at a cloudy, heavily included Montana sapphire and cast it aside as "unloved." But with the right orientation, you can skip the furnace, beat the inclusion flash, and turn that silk into a dreamy, velvety glow. Here is how I faceted a stone most cutters wouldn’t touch.
A lot of gem cutters will look at a cloudy, heavily included Montana sapphire and immediately cast it aside. “Not worth the time,” they’ll say. “Too messy. Too much silk.” They want the flawless, easy-to-cut rough.
But to me? Those "unloved" stones are where the real magic happens. With the right vision and a bit of strategic orientation, you can transform a heavily included piece of rough into an absolute masterpiece.
Why Most "Cloudy" Sapphires Get Baked
To understand why a stone like this is so special, you have to understand what usually happens to them. In the commercial gem trade, when miners dig up sapphires packed with silk and cloudiness, they don't see a unique cutting challenge—they see a candidate for the furnace.
The vast majority of included Montana sapphires are subjected to high-temperature heat treatment. By heating the stones to extreme temperatures (often upwards of 1500°C to 1800°C), the rutile silk literally dissolves back into the sapphire's crystal lattice. This process clarifies the cloudy stone and can dramatically intensify its color.
While heat treatment is an accepted industry standard, there is something incredibly rewarding about keeping a stone entirely natural. Choosing not to erase its history in an oven means relying entirely on the lapidary's skill to find the beauty within the chaos. Keeping this stone unheated preserves its genuine, raw personality.
The Challenge: Star Material vs. Faceted Brilliance
This particular Montana sapphire was packed with that natural silk—fine, microscopic needles of rutile. In many cases, a cutter would look at this rough and immediately decide to cut a cabochon to chase a star sapphire.
But we didn't want a cabochon. We wanted a faceted, sparkling gemstone.
The Risk: If you orient a heavily included stone incorrectly, those internal flaws act like tiny mirrors. They catch the light and throw a dead, cloudy "inclusion flash" right up through the face of the gem.
The Secret: Strategic Orientation
To beat the flash, you have to play a game of angles.
By tilting the table orientation just slightly during the initial design phase, I was able to manipulate how light travels through the stone. The goal wasn't to magically erase the inclusions—they are part of the stone's DNA—but to ensure they didn't dominate the view.
Because of that precise tilt, the stone achieves beautiful light return and brilliance without having that nasty inclusion flash face up. Instead of looking like a mistake, the silk gives the finished sapphire a dreamy, velvety glow.
The Cutting Sequence
Bringing a stone like this to life requires a disciplined progression on the laps. Here is the exact sequence I used to take this sapphire from rough to radiant:
Step Lap / Grit Purpose 1. Roughing & Shaping 250 Grit Aggressive cutting to establish the initial geometry and tilt the orientation. 2. Pre-Polishing 8k Grit on Zinc Cleaning up the scratch lines and prepping the facets for a mirror finish.3. Final Polish 60k Grit on BATT Bringing out the maximum possible luster and pop.
Embracing the Imperfect
At the end of the day, any machine can cut a flawless piece of synthetic rough. But working with heavily included natural stones requires intuition, patience, and a willingness to listen to what the gemstone wants to be.
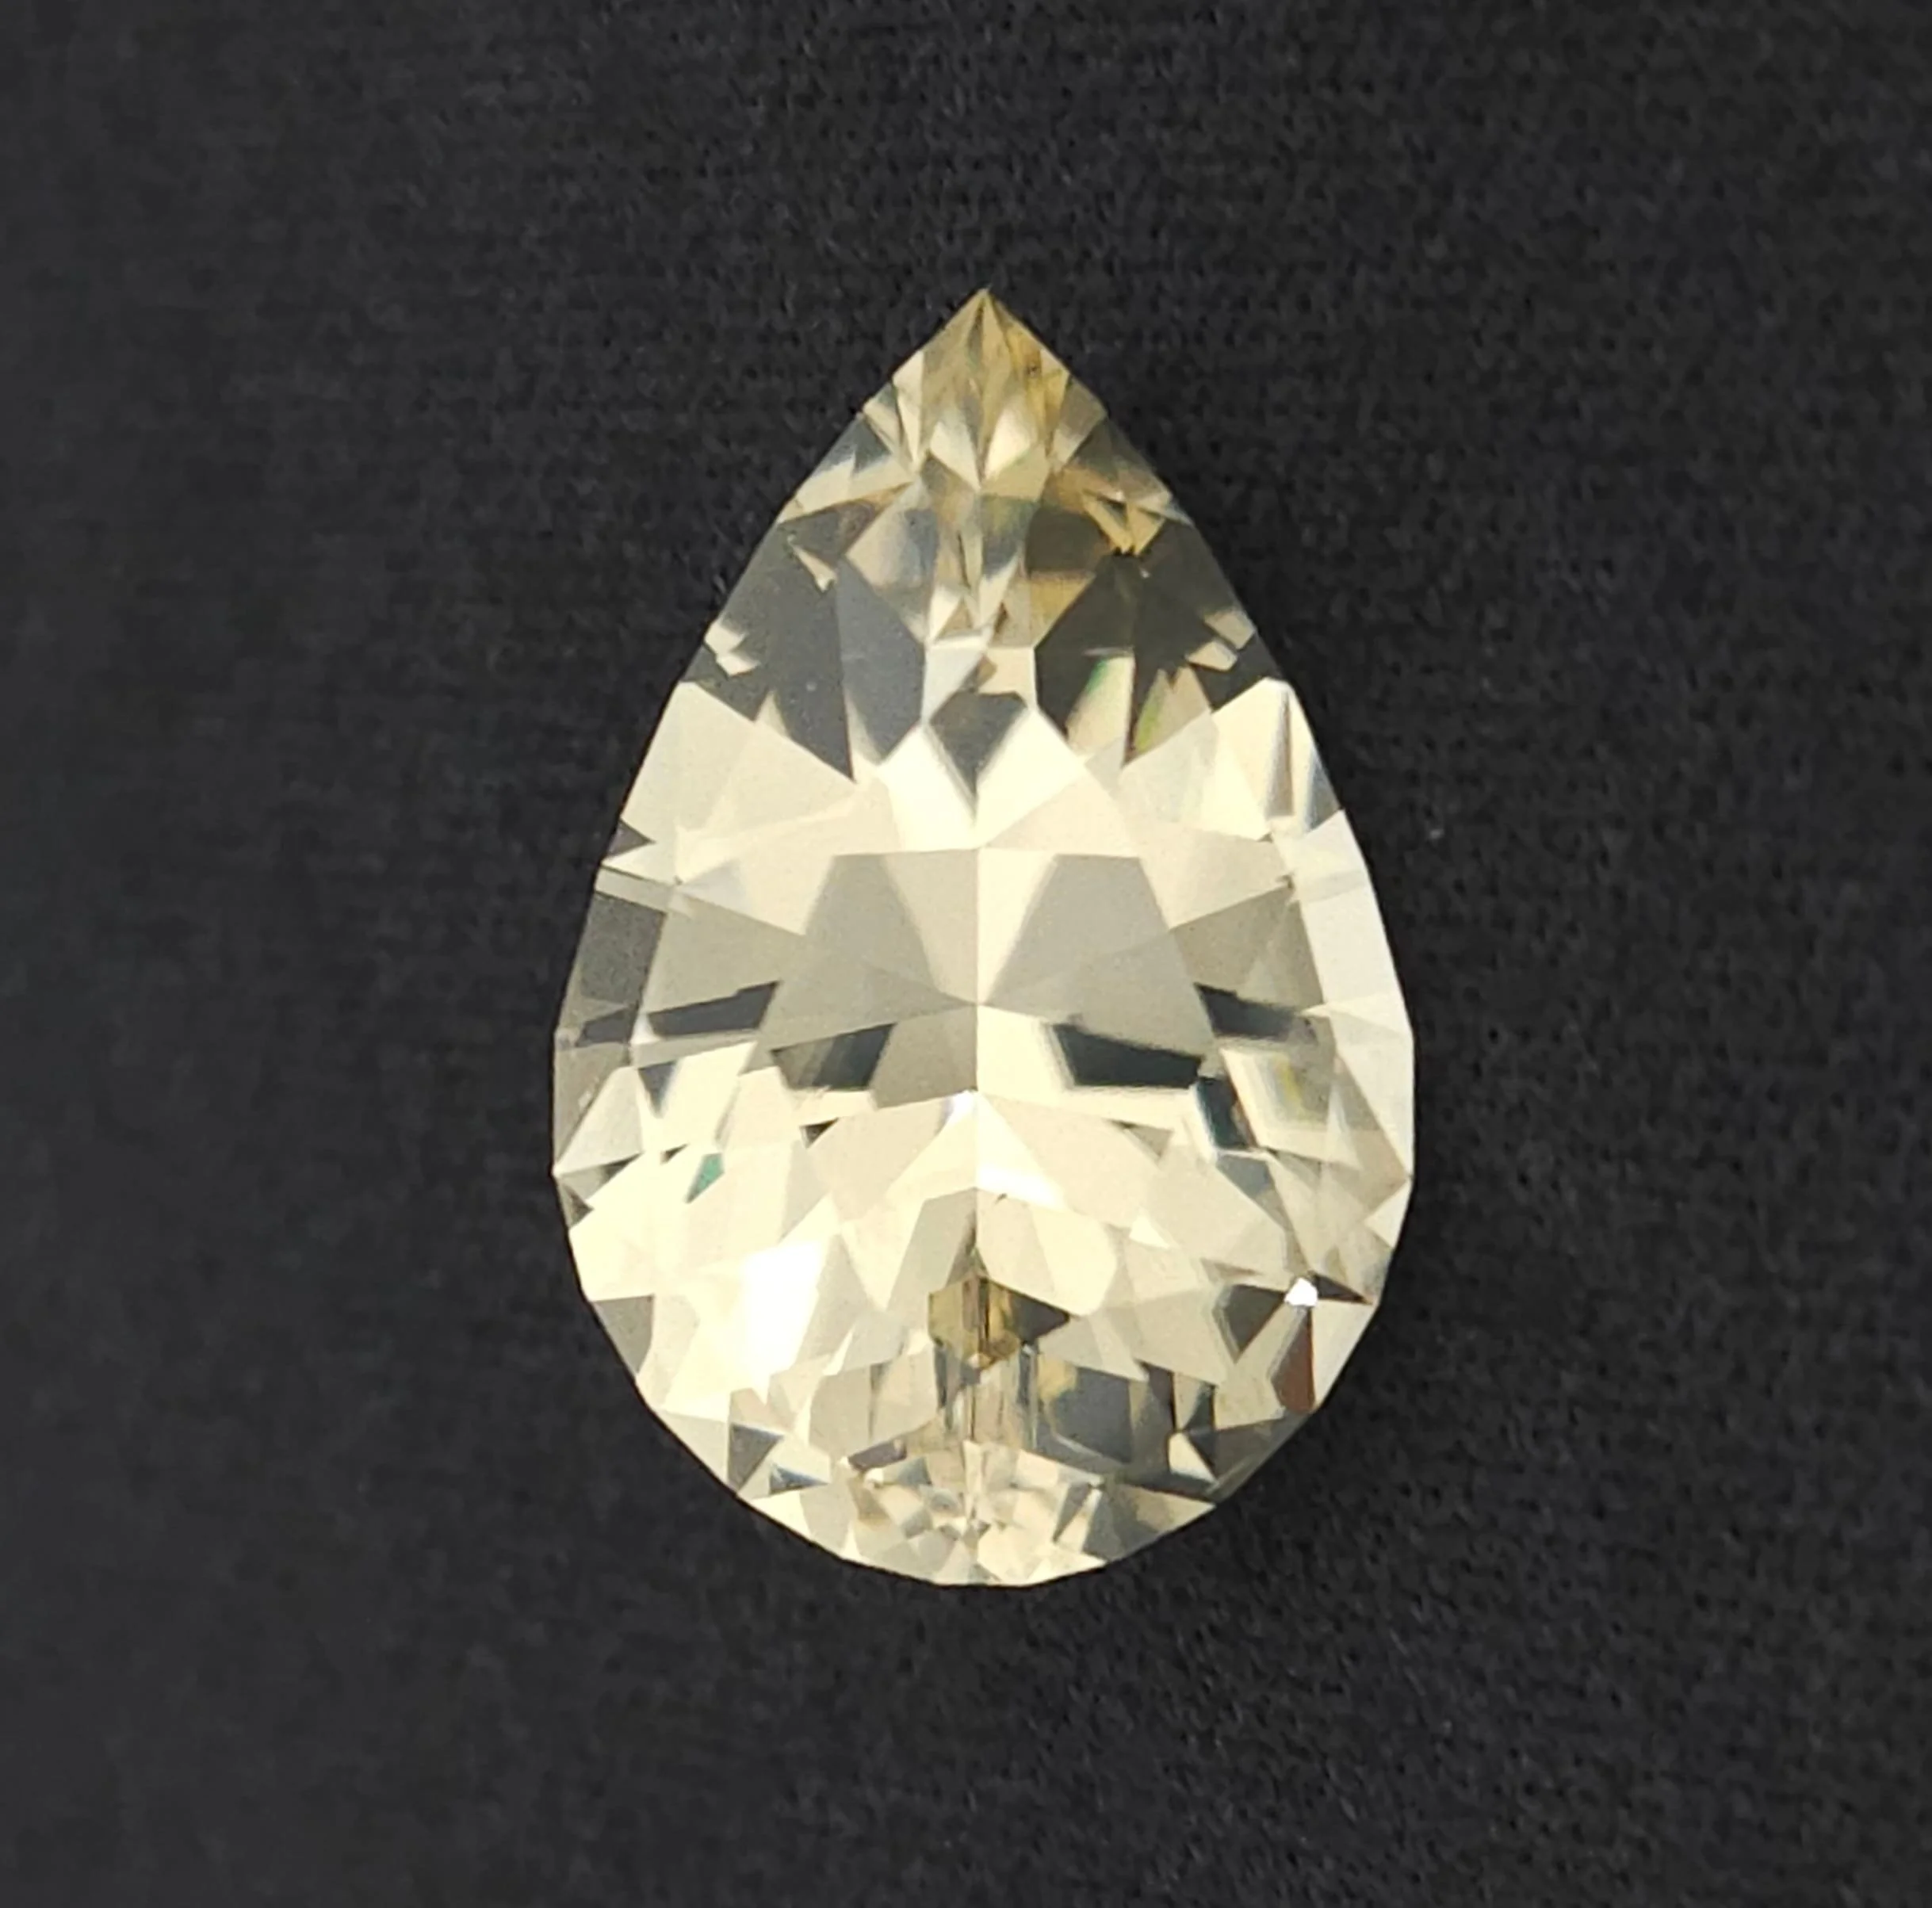
Sunstone of doom the Fruit of the Sun God!
Cutting sunstone is a high-stakes game of outsmarting cleavage planes, twinning illusions, and unforgiving keels. Discover how a risky, rule-breaking lap sequence and a clever dual-zone 60k BAT lap hack managed to protect sharp pavilion meeting points on this temperamental, beautiful feldspar.
Taming the Shifty Feldspar: The High-Stakes Game of Cutting Sunstone
Sunstone is a gemstone that can make a lapidary fall in love and lose their mind all in the same afternoon. It has a gorgeous glow, but working with feldspar means signing up for a masterclass in mineralogical defiance.
If you’ve ever tried to cut this material, you know it doesn’t just sit there and let you facet it—it fights back. Here is a breakdown of a recent adventure cutting sunstone, the orientation mind-games it played, and a risky, rule-breaking lap sequence that actually paid off.
The Orientation Mind-Game: Cleavage and Twinning
Before your stone even touches a coarse lap, sunstone is already trying to deceive you.
The Rhombus Trap
Feldspar has two perfect cleavage planes that meet at roughly 90 degrees (technically closer to 86degrees and 94degrees), creating a distinct rhombus shape inside the rough. If you apply too much pressure or stress the stone along these planes, it will happily split apart right on your dop. Navigating this means you constantly have to visualize where those hidden structural fault lines are running.
Deceptive Twinning Planes
To make matters worse, sunstone loves to twin. Twinning planes create optical illusions within the crystal structure that can completely throw off your orientation. You think you’ve aligned the stone perfectly to maximize the schiller or color depth, only to realize the internal crystal lattice shifted gears halfway through the rough. It requires a lot of patience, bright lighting, and a bit of intuition to outsmart the grain.
The Rule-Breaking Sequence
Most cutting guides advocate for a gradual step-down in grits to prevent subsurface damage. But because sunstone behaves uniquely, standard protocols can sometimes ruin the geometry of your cut.
The experimental sequence used for this stone skipped a massive chunk of the traditional progression:
StepGrit / ToolPurpose1. Roughing250 GritFast material removal and shaping.2. Pre-polishing500 GritSmoothing out the deep 250 scratches.3. Final Polish60k Diamond on a BAT LapThe final finish (and makeshift pre-polish).
The Chipping Tax
Jumping straight from 500 grit to a 60k polishing lap is a massive leap. Because the step-down was skipped, the stone rebelled initially. Tiny micro-chips broke off the facet edges and became embedded directly into the BAT lap.
Contaminating a lap is a lapidary’s nightmare, but it was a calculated risk driven by one specific requirement: the pavilion keels.
Protecting the Keels: Why Skip Pre-Polish?
On this particular sunstone, keeping a razor-sharp keel line on all the pavilion facets was absolutely critical.
Traditional pre-polish steps (like using a 3k or 8k lap) can be incredibly unforgiving on feldspar keels. The material is soft enough (Mohs 6–6.5) that standard pre-polishing tends to round off or chip those sharp, crisp meeting points, washing out the precision of the pavilion. To preserve those sharp lines, skipping the traditional pre-polish altogether was the best path forward.
The Two-Zone 60k BAT Lap Hack
To bridge the massive gap between 500 grit and 60k without destroying the keels, the BAT lap had to pull double duty by dividing it into two distinct working zones:
Plaintext
       [  THE BAT LAP  ]
   /-----------------------\
  /  ( Zone 1: Lap Burn )   \  <-- Drier, high friction. Acts as pre-polish.
 |                           |
  \  ( Zone 2: Final Polish) \  <-- Standard moisture. Mirror finish.
   \-----------------------/
                       center
Zone 1 (The Pre-Polish / Burn Zone): By running one section of the 60k lap a bit drier and letting it "burn" slightly, the high friction acted as a makeshift pre-polish. It flattened the 500-grit scratches quickly without rounding the crisp keel edges.
Zone 2 (The Mirror Polish Zone): Moving inward to a freshly lubricated, standard zone of the 60k lap delivered the final high-gloss finish.
The Catch
This dual-zone technique worked surprisingly fast, but it required intense focus. The moment a facet drifted too close to the boundary line between the dry "burn" zone and the wet polishing zone, the lap would hitch, threatening to scratch or chip the facet instantly.
Final Takeaway
Sunstone is a masterclass in compromise. If you follow the traditional textbook instructions, you risk losing your sharp meet-points and rounding or chipping your keels. If you jump grits aggressively, you risk chipping your stone and embedding debris into your expensive laps.
But by manipulating a 60k BAT lap into two distinct friction zones, you can bypass the pre-polish blues, protect your geometry, and get a mirror finish on temperamental feldspar in record time. Just keep your eyes glued to your zones!