Precision Under Pressure: Cutting a Custom Quartz Suite
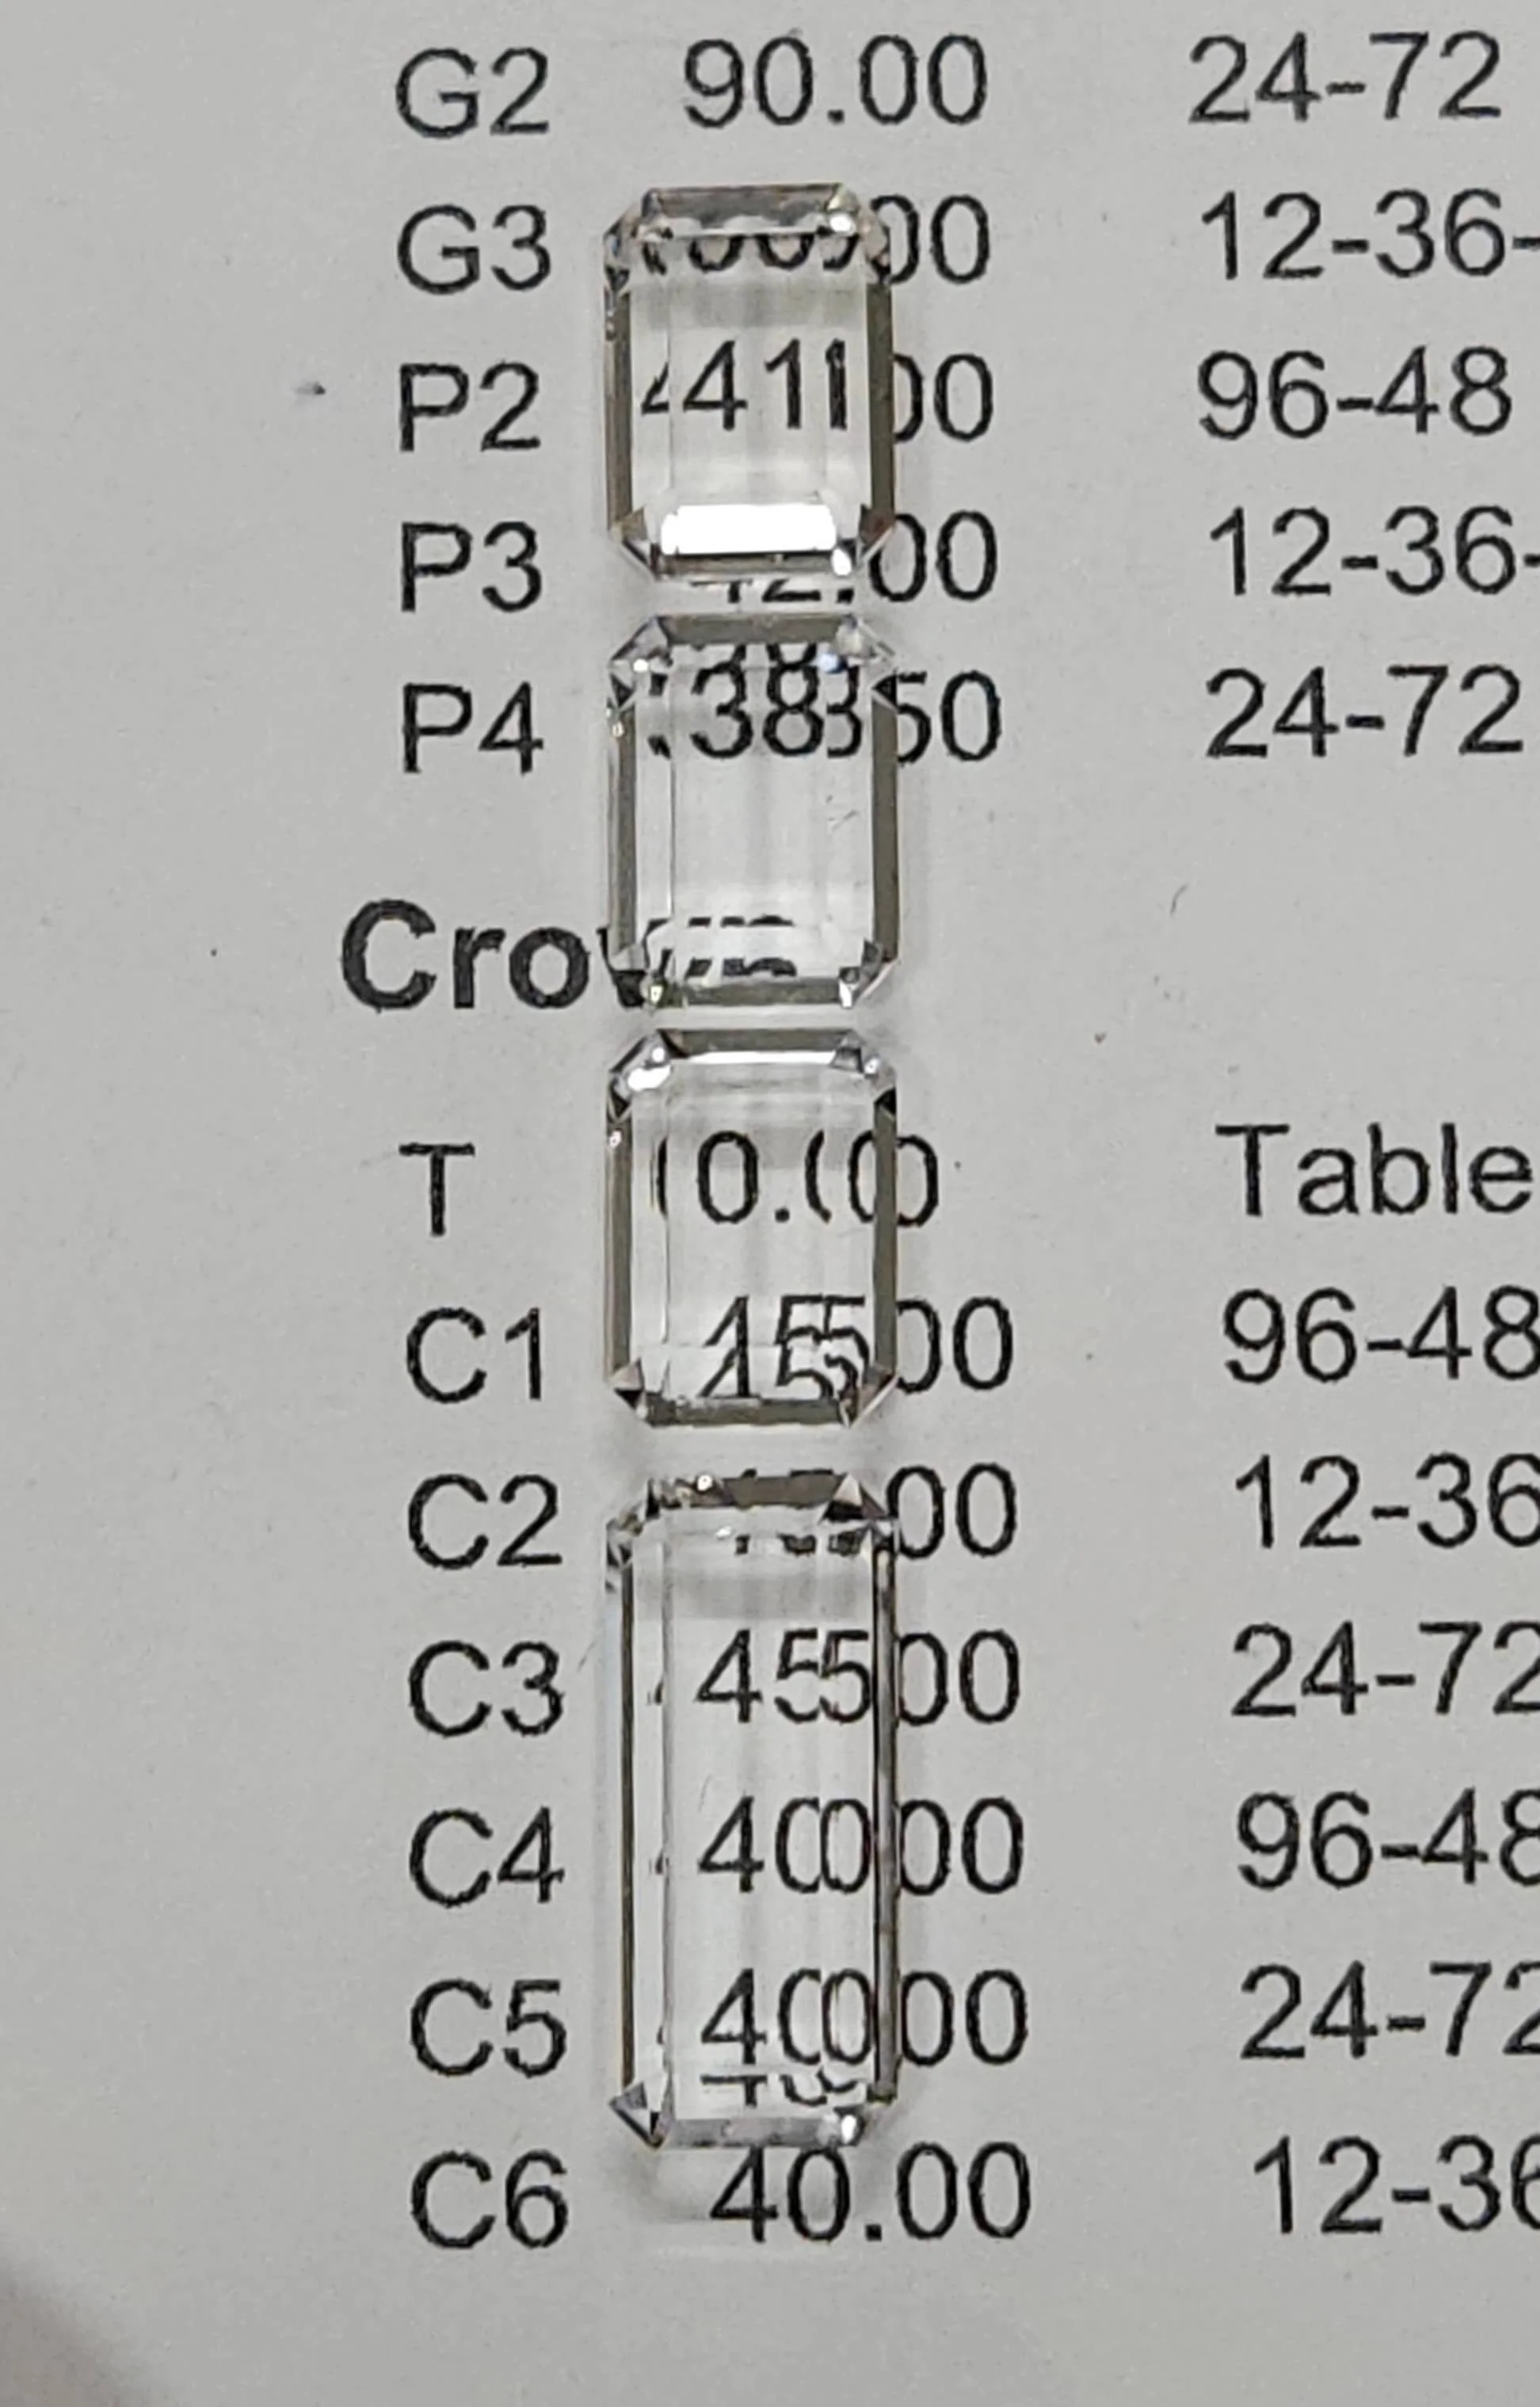
When a client asks for a complete set of water-clear quartz stones, there’s no room to hide. Water-clear quartz shows everything—every facet, every junction, and especially every internal flaw.
Thankfully, I had the rough material on hand, but with one major catch: I only had a single piece large enough to yield the largest stone in the set. That meant zero margin for error on the center piece.
The Cut: Portrait Design
For this project, we selected a portrait cut. Portrait cuts feature broad, flat tables and minimal back faceting designed to make the gemstone act like a window of pure glass. While the final result looks effortless and crisp, these cuts are notoriously deceiving. Because the stone is so transparent and flat, every single facet angle and polish line must be absolutely flawless—there are no complex reflective patterns to disguise a mistake.
Grit Progression
To achieve maximum clarity, I worked through a steady, careful grinding and polishing sequence:
250 Grit: Rough shaping and removing mass.
500 Grit: Refining the basic outline and geometry.
3k Grit: Pre-polish prep to smooth out micro-fractures and prepare the facets.
60k on a BATT Lap: Final polish for an optically clear, mirror-like finish.
Catching an Inclusion
During the process, I ran into a close call with one of the smaller candidate stones. After inspection, I noticed a subtle veil inclusion that I had initially missed. With a portrait cut, a veil right in the center would ruin the window-like clarity. Fortunately, because it was one of the smaller pieces in the suite, I was able to swap out the rough and re-cut it cleanly before finishing the set.
The Final Result
Despite the tight material constraints and unforgiving nature of the cut, the entire suite came out perfect. Every stone delivers that pure, liquid-clear look the client was hoping for.